There’s something extra special about red velvet desserts, and these Red Velvet Crinkle Cookies are no exception! They’re soft, chewy, and have that signature crinkly powdered sugar coating that makes them both beautiful and delicious. These cookies have a slight cocoa flavor with a hint of vanilla, all wrapped up in a vibrant red hue—perfect for holidays, Valentine’s Day, or just because!
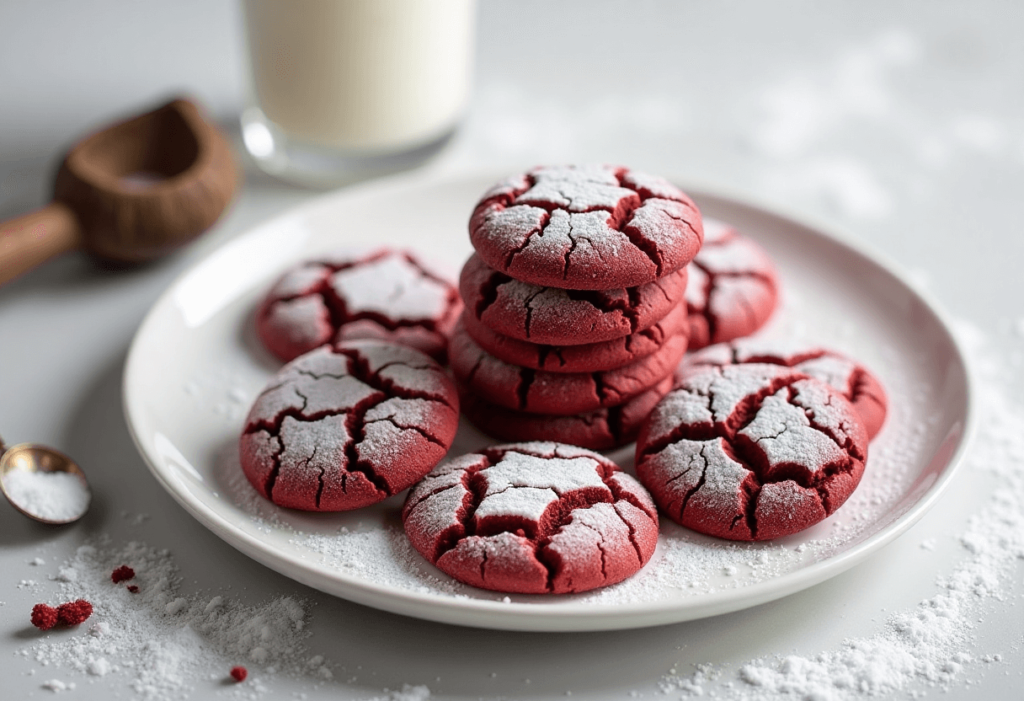
One of my favorite things about these cookies? They come together easily and don’t require fancy decorating—just roll them in powdered sugar and let the oven do the magic. Plus, they’re a great baking project for kids, who will love rolling the dough and watching the cookies crackle as they bake.
Let’s get started on this easy and festive cookie recipe!
What Ingredients You’ll Need
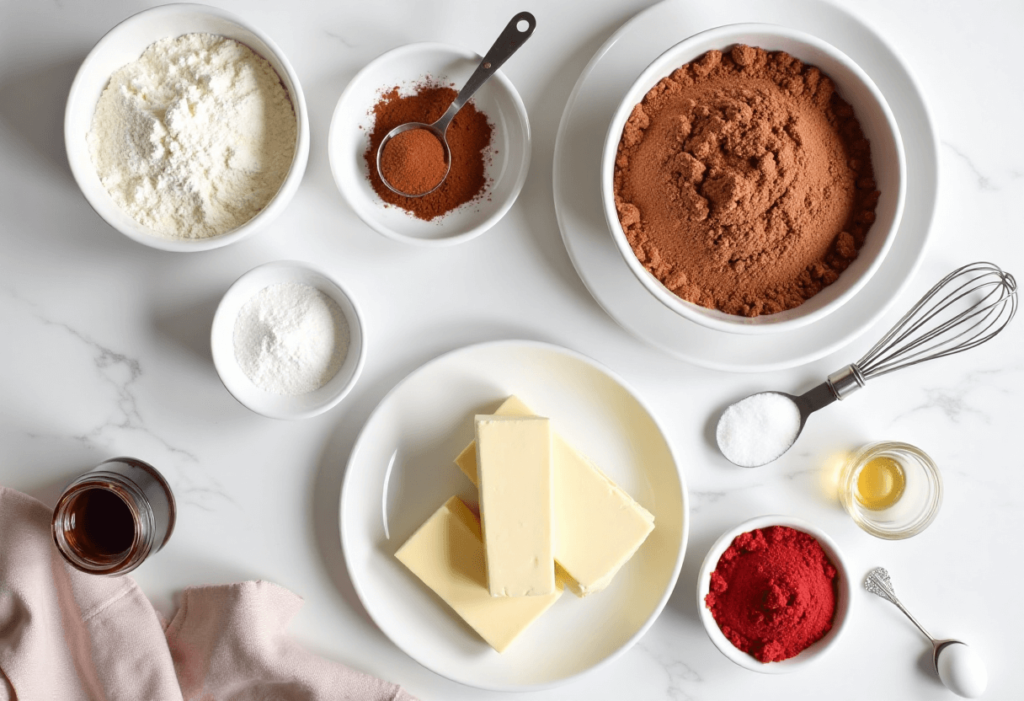
- 1 ½ cups all-purpose flour
- ¼ cup unsweetened cocoa powder
- 1 teaspoon baking powder
- ¼ teaspoon salt
- ½ cup unsalted butter, softened
- ¾ cup granulated sugar
- ¼ cup brown sugar, packed
- 1 large egg
- 1 teaspoon vanilla extract
- 1 teaspoon white vinegar
- 1 tablespoon red food coloring
- ½ cup powdered sugar (for rolling)
Pro Tips for Perfect Crinkle Cookies
Chill and Dough
Red velvet cookie dough is sticky! Chilling for at least 1 hour helps make it easier to roll and ensures thick, chewy cookies.
Double Coat in Powdered Sugar:
To get a strong crinkle effect, roll the dough balls generously in powdered sugar—don’t shake off the excess!
Use Gel Food Coloring for Vibrancy:
Liquid food coloring works, but gel gives a deeper red color without altering the consistency of the dough.
Don’t Overbake:
The cookies should look slightly underdone in the center when you pull them out—this keeps them soft and chewy as they cool.
Keep Hands Clean:
Lightly grease your hands or dust them with powdered sugar before rolling the dough to prevent sticking.
Tools You’ll Need
- Mixing bowls
- Electric mixer (hand or stand)
- Whisk
- Measuring cups & spoons
- Spatula
- Baking sheet
- Parchment paper
- Small sifter (for powdered sugar)
Substitutions & Variations
No Food Coloring?
Leave it out! The cookies will be more chocolatey-brown but just as delicious.
Gluten-Free Version:
Swap the all-purpose flour with a 1:1 gluten-free baking blend.
Extra Chocolatey:
Add ½ cup white or dark chocolate chips to the dough.
More Flavor:
Swap the vanilla extract for almond extract for a unique twist!
Make-Ahead Tips
Prepare the Dough Ahead:
You can refrigerate the dough for up to 48 hours before baking. Let it soften slightly at room temperature before rolling.
Freeze the Dough Balls:
Roll the dough into balls (before rolling in powdered sugar) and freeze. When ready to bake, let them thaw slightly, roll in powdered sugar, and bake as usual.
How to Make Red Velvet Crinkle Cookies
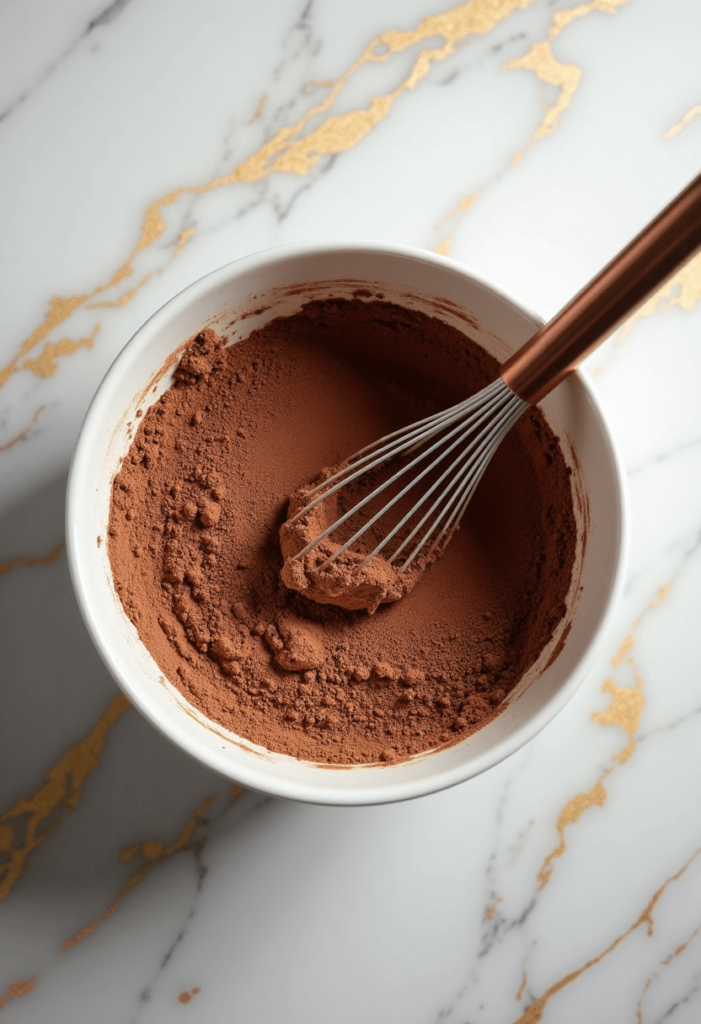
Step 1: Mix the Dry Ingredients
In a medium bowl, whisk together the flour, cocoa powder, baking powder, and salt. Set aside.
Step 2: Cream the Butter and Sugars
In a large mixing bowl, beat the softened butter, granulated sugar, and brown sugar until light and fluffy.

Step 3: Add Wet Ingredients
Mix in the egg, vanilla extract, white vinegar, and red food coloring until fully incorporated.
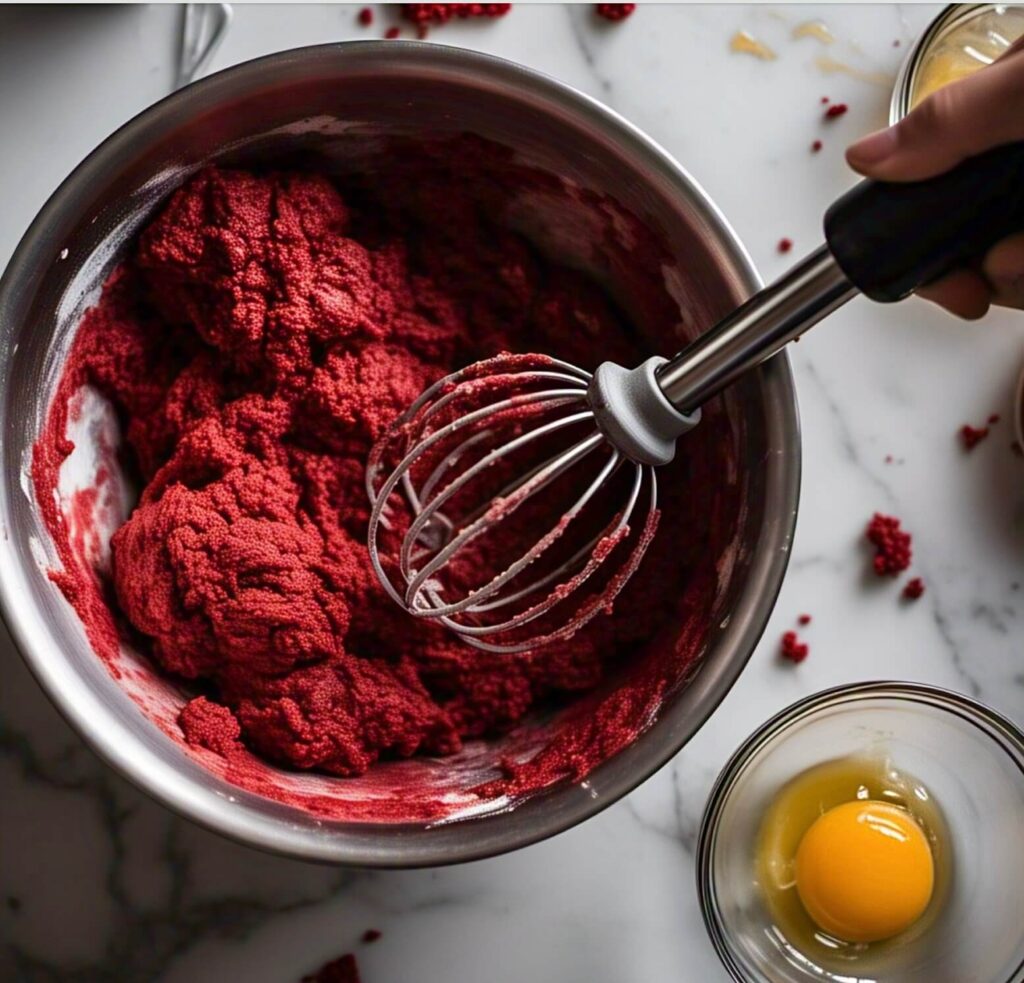
Step 4: Combine Wet and Dry Ingredients
Gradually mix the dry ingredients into the wet mixture until a thick dough forms. Chill for at least 1 hour.
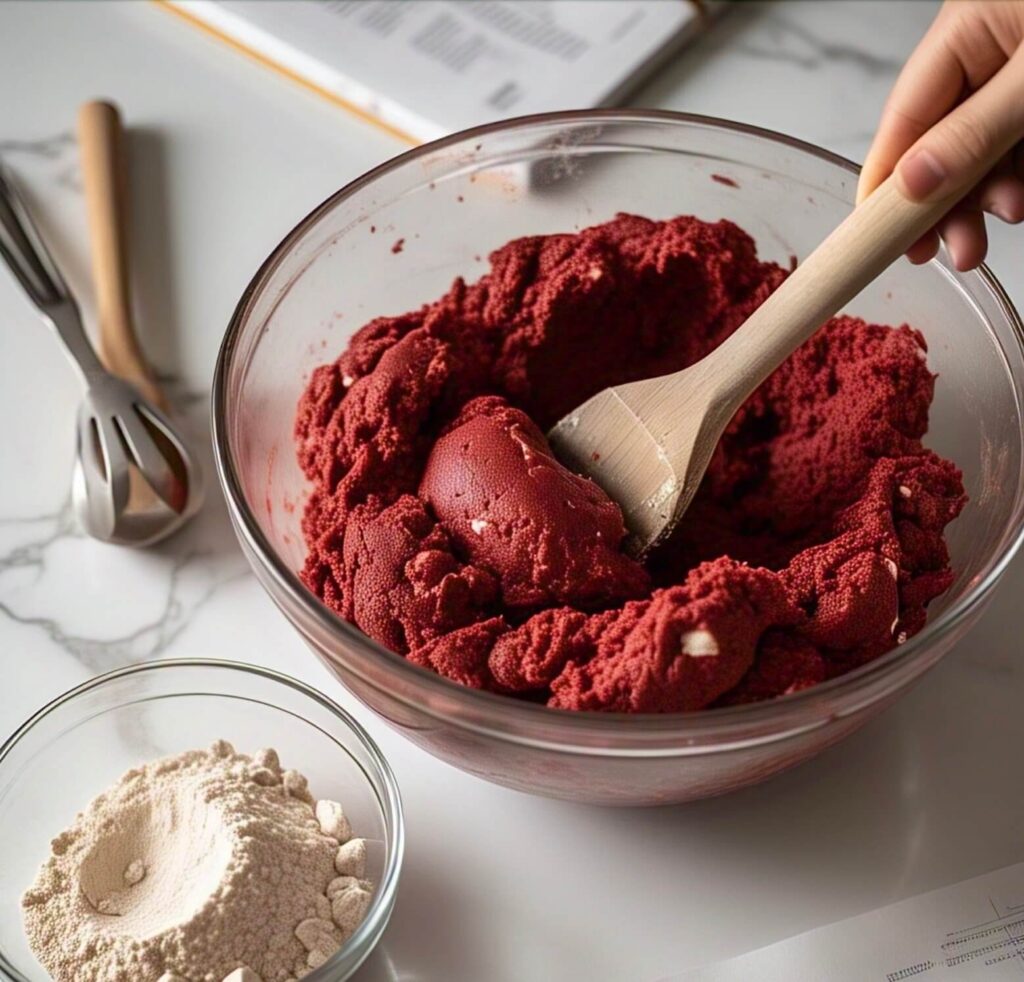
Step 5: Roll and Coat
Scoop out tablespoon-sized dough balls, roll them in powdered sugar, and place them on a parchment-lined baking sheet.
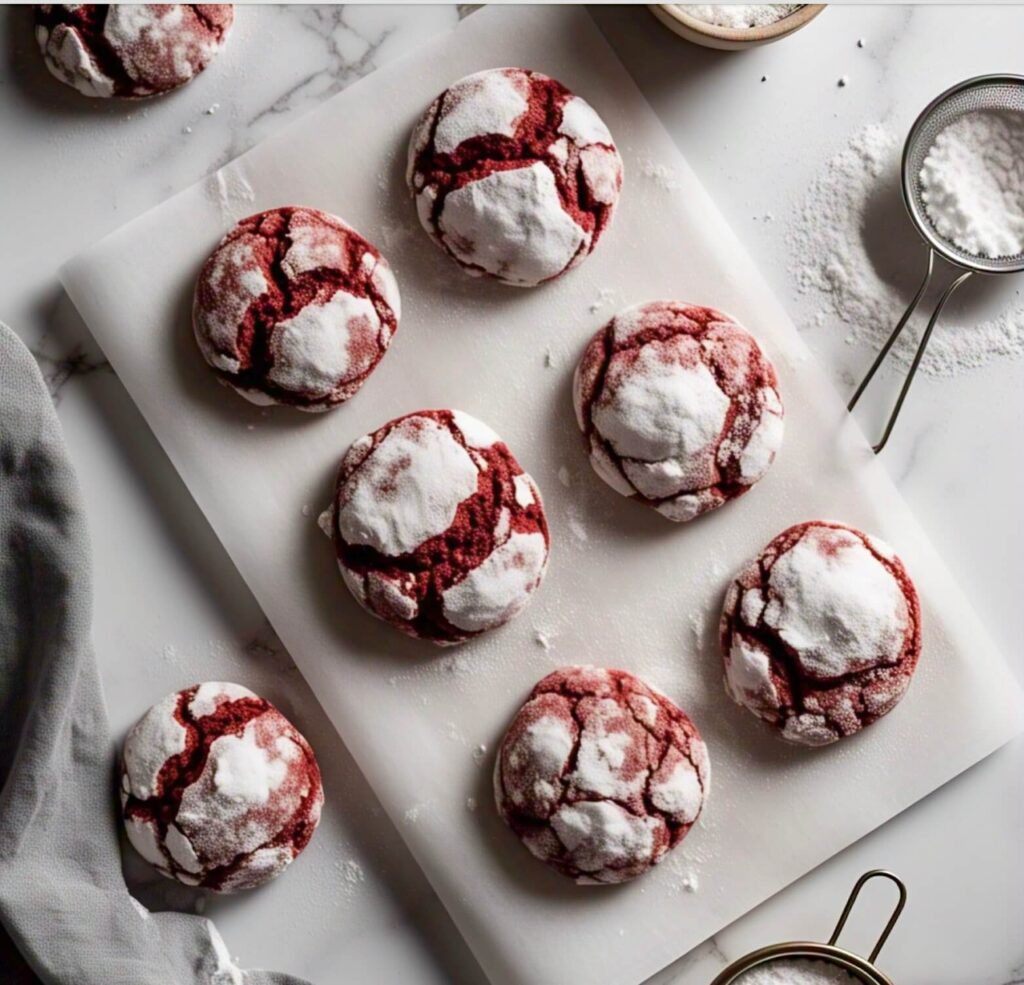
Step 6: Bake and Cool
Bake at 350°F (175°C) for 10-12 minutes. The cookies should be set at the edges but slightly soft in the center. Let them cool for 5 minutes before transferring to a wire rack.

Leftovers & Storage
- Store cookies in an airtight container at room temperature for up to 5 days.
- For longer storage, freeze them for up to 3 months—just thaw at room temperature before serving.
Final Thoughts
These Red Velvet Crinkle Cookies are as fun to make as they are to eat! Whether you’re baking for a special occasion or just a cozy treat, they’re sure to be a hit. Let me know in the comments if you tried them—I’d love to hear how they turned out! ❤️
Leave a Reply